
Separate Light Groups for Screen Viewing and Video‑Call Face‑Lighting
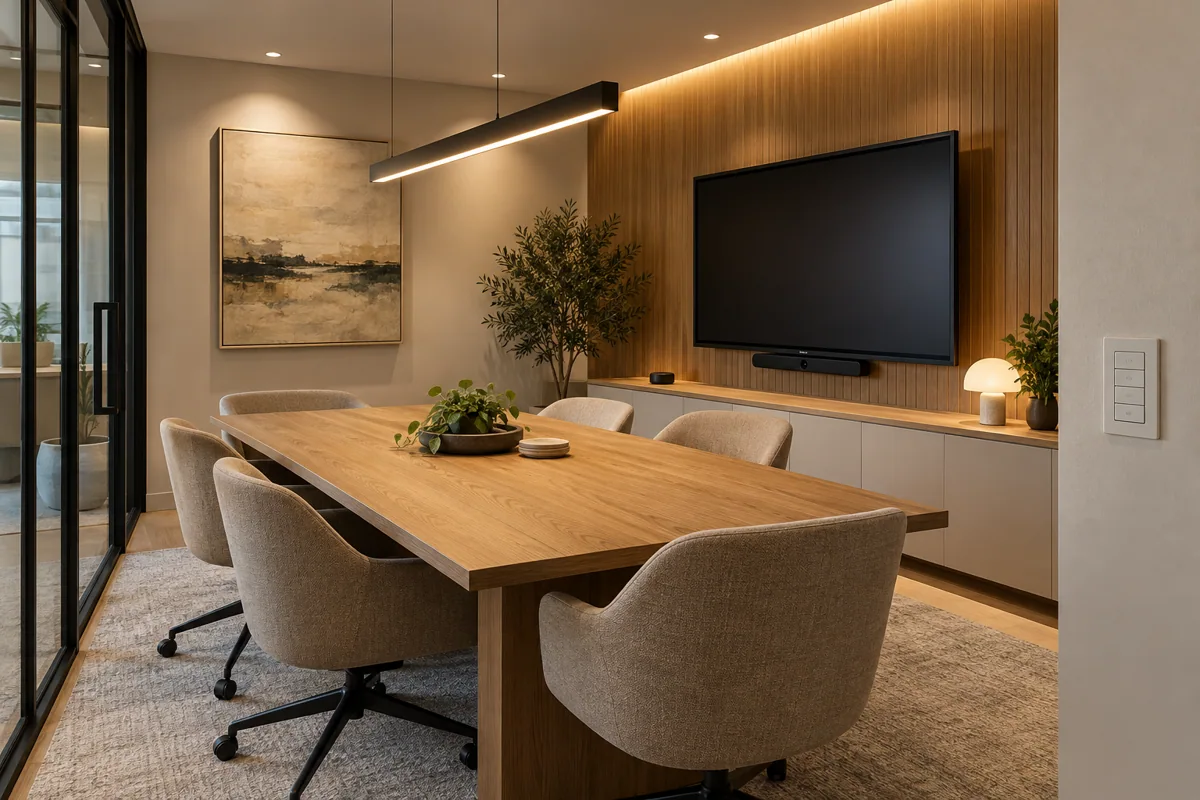
When you walk into a modern conference room the lighting needs to do two opposite things. For a slide deck you want the ceiling lights dimmed low enough that the projector image looks deep and contrast‑rich. For a Teams or Zoom call you need enough wash over the participants’ faces – especially the person at the camera – so the remote attendees can see expressions clearly.
What to buy
- Caséta Smart Hub L‑BDG2 – the central point that lets the dimmer, remote and any future accessories talk to each other over Clear Connect.
- Diva Smart Dimmer DVRF‑6L – install it on the circuit that feeds the overhead fixtures you plan to dim for presentations.
- Pico Remote PJ2‑3BRL – mount the remote near the room’s main control panel (or on a wall near the display). Program two scenes on the hub: Presentation (lights at 10‑15 % and projector on) and Video Call (lights at 40‑50 % with the camera‑facing zone brighter).
- Sonos Amp (optional) – if you also want a zone of powered speakers for video‑call audio, the Amp can be added to the same hub and toggled together with the Video Call scene.
Conditional buying judgement If the room’s seating, camera and screen are fixed – a typical boardroom layout – the three‑device kit will let you create reliable, repeatable scenes. You’ll get a clear visual cue (the remote button) that you’re switching between two fundamentally different lighting goals, and you avoid the disappointment of a “one‑preset‑fits‑all” that leaves the screen washed out or the speaker’s face in shadow.
Alternative If the room is a flexible‑seating space where the projector or camera may move, a single dimmer won’t be enough. In that case consider installing two independent dimmers (one for the front‑facing fixtures, one for the side‑wall wash) and control them with separate Pico remotes or a wall‑mounted keypad. This adds hardware cost but gives you the granularity to adapt the lighting to any layout.
Practical responsibilities Before signing any purchase order, ask the integrator to demo the two scenes using your actual chair, screen and camera positions. Agree on who programs the scenes, who labels the remote buttons, and how the hub’s firmware will be kept up‑to‑date. Clarify that the remote’s button press is the only trigger for changing the dimmer level – no hidden schedules should interfere during a meeting.
By separating the light groups up front you avoid the common pitfall of a single “all‑purpose” scene that can’t satisfy both projection contrast and face‑lighting simultaneously.